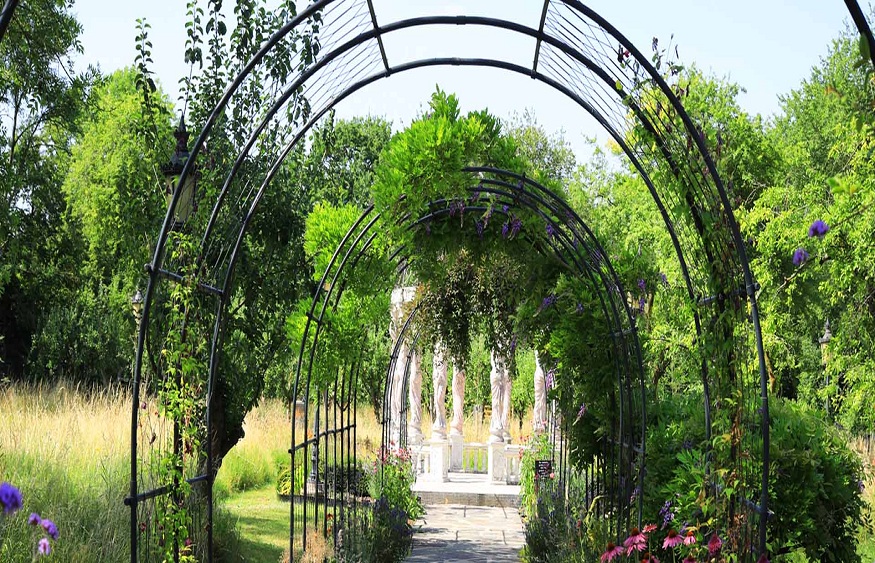
If you don’t know where to start to organize your garden, here are the main keys to choosing and placing your plants well in relation to each other, and making your first layout a success!
By email
The basics for structuring your garden
Step 1 to properly structure your garden: observe and draw the existing
Even if you find that your garden has no overall coherence, observe it, take a picture of it and concentrate on what you see: you will quickly realize the elements that draw its structure.
Then get to drawing! No need to have great drawing skills. Take a sheet of paper with small squares, a large marker, and sketch a quick plan without details. To make sketching easier, use your photos: their reduced format will allow you to work on your plan like a painting.
First draw the ground plan , that is to say the outline of your garden
Then place the fixed elements (buildings, terrace, paths, low walls, stairs…) and the passage areas;
Locate the exposure and the more or less sunny areas, indicate the direction of the prevailing winds. The climatic zones thus defined will be useful for you to choose suitable plants. For example, the windy parts can be protected by hedges, shrubs or treses.
Draw the plants already installed , estimating their size: fruit trees, large trees, hedges, etc. You can number them on the plan and label them on another sheet.
Place the hardy plants (which are cold-resistant) that you want to keep: perennials, narcissus bulbs, peonies…
Determine the exterior viewpoints by indicating the position of the doors and windows of each building. Locate the views to hide or uncover. Remember to keep focal points, such as a bell tower or an old cedar tree… Preserving such visual views will give your garden a real perspective by letting the surrounding landscape enter it. You can also draw the perspectives from inside the house or from the viewpoints you like and imagine the view you would like to have.
Do the same thing from the visitor’s point of view. Decide what you want to show, hide etc.
Step 2: Improve the existing structure with new planting ideas
Now have fun improving this framework with shrubs, perennials organized in beds, decorative elements, bulbs… List the plants and colors you like (see step 3), as well as the style of garden you want. you would like to have. Mastering the aesthetics of your garden means playing with colors but also with shapes and perspectives.
Here are some tips for structuring your spaces , delimiting areas, or framing a view with the plants you have chosen:
Trees that will be focal points should not be obscured by future growth of other vegetation;
Shrubs, isolated or grouped, should participate in the structure of the garden without bringing confusion, unless this is the desired effect;
Erect forms (conifers, bamboos, fastigiated plants, etc.) catch the eye. It is possible to associate them with horizontal shapes to give coherence;
The low forms gently accompany the gaze towards the bottom of the garden or a remarkable point;
Round shapes bring stability if they are strict, or on the contrary softness and nonchalance if they are flexible;
Plants with a very structured silhouette do not tolerate visual competition from other very well-defined plants: it is better to isolate them or associate them with soft, low shapes;
The shape of the leaves, their texture and their size are also important: large leaves give a framework to a fuzzy ensemble, while vaporous foliage brings lightness and depth to a composition;
To create unity in a bed, punctuate it with plants with well-defined shapes;
A neutral and plain background, without any plant that stands out from its neighbors, is perfect to serve as a setting for a very beautiful isolated specimen.


